

A small leak behind a wall or a slow drip under a sink can quietly turn into a five-figure repair bill before you ever notice a problem. Bathrooms are one of the most vulnerable rooms in any home because they combine constant water exposure with hidden pipework, aging fixtures, and materials that can trap moisture. The good news is that many of the worst outcomes are preventable with the right upgrades and a little proactive attention. This guide walks through the most valuable bathroom plumbing improvements you can make to protect your home, your budget, and your peace of mind.
Spotting Warning Signs of Hidden Moisture Problems
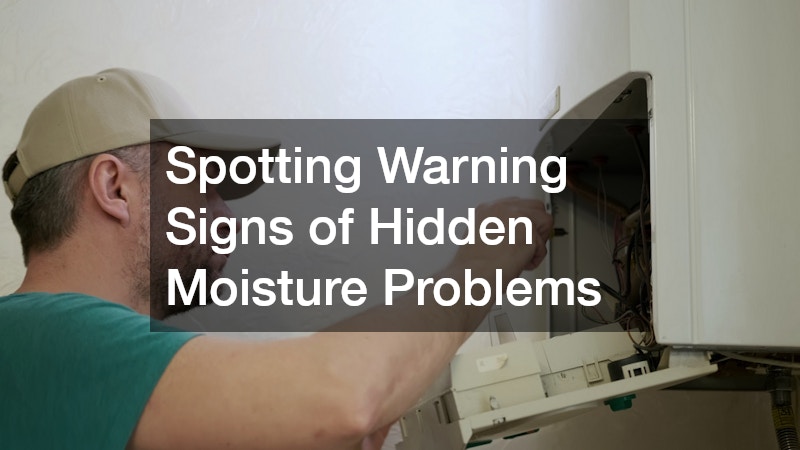
Water damage rarely announces itself with a dramatic burst pipe. Instead, it shows up as subtle clues like a musty smell, peeling paint near the tub, or a slightly soft spot on the floor when you step near the toilet. These small warning signs often develop slowly over weeks or months, hiding behind walls and under flooring long before they become visible.
Other telltale signs include discolored or bubbling paint on the ceiling below a bathroom, grout that’s cracked or crumbling despite regular cleaning, and baseboards that feel spongy or have started to warp. A faint but persistent mildew odor, even after cleaning, often means moisture is trapped somewhere it shouldn’t be. Rising water bills without an obvious explanation can also point to a slow, hidden leak inside a wall or under a slab.
Common indicators include musty odors that linger even after cleaning, faint discoloration or yellowing on ceilings and walls, and paint or wallpaper that bubbles and peels near tubs, showers, or sinks. Soft or spongy flooring, warped baseboards, and cabinet doors that suddenly stick can also point to moisture seeping into materials behind the scenes. A water bill that climbs without a clear explanation is another red flag worth investigating.
If you notice any of these warning signs, it is worth having a home plumber assess the situation before it worsens. A trained eye can often spot the source of a leak—whether it’s a failing wax ring, a cracked supply line, or a slow drip inside a wall—that would otherwise go unnoticed for months.
- Musty or mildew-like odors that persist even after cleaning, especially near the base of the toilet, under the sink, or around the tub surround
- Discoloration or bubbling on walls, ceilings, or baseboards, often yellow-brown staining or peeling paint on the ceiling below a second-floor bathroom
- Soft, spongy, or warped flooring near the tub or toilet, which can signal subfloor rot from a slow leak at the wax ring or supply line
- Unexplained increases in your water bill of 10-15% or more, even when your usage habits haven’t changed
- Visible mineral deposits or rust around fixture bases, shutoff valves, or supply lines, which often indicate a slow drip that’s been going unnoticed
- Doors or cabinets near the bathroom that suddenly stick or no longer close properly, a sign of humidity-related wood swelling
- Cracked or loose caulk and grout around the tub, shower, or floor tile, allowing water to seep behind surfaces
- Peeling wallpaper or paint on adjoining walls, which points to moisture migrating through drywall from an unseen source
Recognizing When Your Water Heating System Needs Replacing
A failing water heater is one of the most common sources of serious household leaks, especially when the unit is tucked into a closet near or above finished living space. Tanks typically last eight to twelve years, and once they pass that age, the risk of a sudden rupture increases substantially. Rust-colored water, popping noises during heating cycles, and moisture pooling at the base of the tank are all signs that replacement should be a priority rather than an afterthought.
Upgrading to a newer water heater not only reduces the odds of a catastrophic leak but often improves energy efficiency as well. Many modern units include built-in leak detection or automatic shutoff features that can prevent flooding even if a failure does occur. Considering the cost of water damage repair versus the price of a proactive replacement, this upgrade tends to pay for itself in avoided headaches alone.
- Check the manufacture date on the unit’s label to estimate its age
- Look for rust, corrosion, or moisture around the base
- Listen for unusual rumbling or popping sounds
- Ask about tankless or leak-detecting models when replacing an old unit
Choosing a Shower Design That Resists Leaks

The shower is one of the highest-risk zones in any bathroom because it deals with constant water exposure along seams, thresholds, and glass edges. A well-built shower enclosure with properly sloped flooring and a quality waterproof membrane behind the tile can prevent water from migrating into the walls or subfloor over time. Older enclosures with cracked caulking or deteriorating seals are common culprits behind slow, hidden leaks that homeowners often mistake for humidity or condensation.
When planning an upgrade, it is worth thinking beyond aesthetics and considering how the design will perform over the next decade. Frameless or semi-frameless designs can look sleek, but they still require careful attention to sealing details to remain watertight. Choosing materials and configurations built for long-term durability, rather than just visual appeal, is the smarter investment.
- Verify that the enclosure includes a proper waterproofing membrane behind tile
- Check that thresholds and pans are sloped correctly toward the drain
- Inspect seals and caulking annually for cracking or gaps
- Ask about warranty coverage on enclosure materials and installation
Sealing Gaps Around Your Shower Glass
Glass shower doors add a clean, modern look, but poor installation or worn seals can let water escape onto the bathroom floor, where it seeps into grout lines and baseboards. A custom shower door built to the exact dimensions of your space tends to fit more precisely than a generic stock unit, which reduces the chance of gaps where water can sneak through. Precise fitting matters just as much as style when it comes to preventing long-term moisture problems.
Over time, even a well-fitted door needs occasional maintenance to stay watertight. Rubber sweeps and seals wear down, hinges can shift slightly, and mineral buildup can prevent the door from closing flush. Inspecting these components twice a year helps ensure the enclosure continues doing its job of keeping water where it belongs.
- Check that door sweeps and seals are intact and pliable
- Confirm hinges are tight and the door closes flush against the frame
- Clean tracks regularly to prevent debris from blocking proper closure
- Replace worn seals promptly rather than waiting for visible leaks
Choosing Durable Materials for Wet Areas

Not all tile and stone products handle constant moisture equally well, which is why material selection matters as much as installation quality. Porcelain tends to outperform natural stone in wet environments because it is less porous and easier to seal effectively. Visiting a local tile store in person allows you to compare samples, ask about water absorption ratings, and get guidance on which products are truly rated for shower floors versus walls.
Staff at a knowledgeable tile store can also help you choose appropriate grout types and sealants suited to your climate and usage patterns. Larger format tiles with fewer grout lines can reduce the number of vulnerable seams where water might penetrate. Taking the time to select the right materials upfront reduces the likelihood of moisture problems appearing just a few years after a renovation.
- Ask about water absorption ratings before choosing tile for wet areas
- Consider larger format tiles to minimize grout lines
- Choose epoxy grout for improved moisture and stain resistance
- Request samples to test how materials look under bathroom lighting
Maintaining Clean Surfaces to Prevent Mold and Mildew
Grout lines are porous by nature, which makes them a prime target for mold, mildew, and soap scum buildup if left unaddressed. Beyond being unsightly, dirty or deteriorating grout can allow moisture to seep through to the substrate below, quietly compromising the waterproofing system behind your tile. Routine tile and grout cleaning helps preserve the integrity of the sealant and extends the life of the entire shower or bathroom floor.
A simple weekly wipe-down combined with periodic deep cleaning can make a significant difference in how long your bathroom surfaces last. Harsh acidic cleaners can actually erode grout over time, so it is worth choosing pH-balanced products designed specifically for tile surfaces. Resealing grout every one to two years is a small task that pays off by keeping moisture from working its way underneath.
- Wipe down shower walls after each use to reduce standing moisture
- Deep clean grout lines monthly with a pH-balanced cleaner
- Reseal grout annually or every other year depending on usage
- Address discoloration quickly before it spreads further
Diagnosing Underground Pipe Problems Early
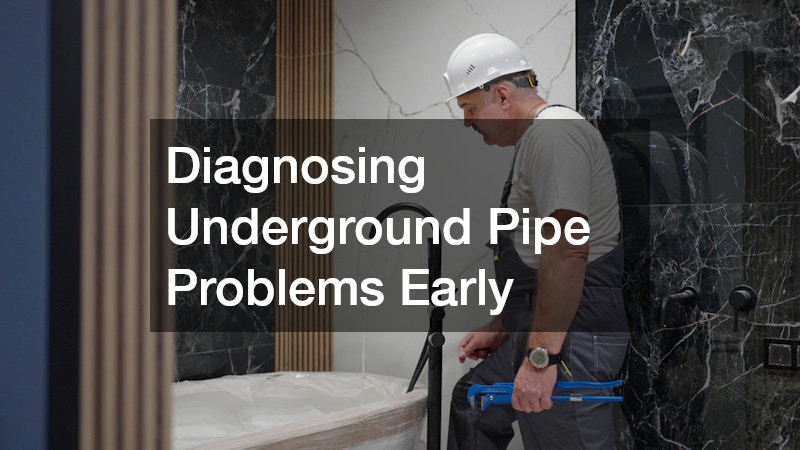
Not every plumbing issue originates inside the bathroom walls. Tree root intrusion, pipe corrosion, and shifting soil can all cause slow-moving blockages or cracks in the sewer line that eventually back up into your home’s fixtures. A sewer camera inspection allows a trained technician to see exactly what is happening inside the pipe without any guesswork, identifying cracks, blockages, or misalignments long before they cause a backup.
This kind of inspection is especially valuable for older homes or properties with mature trees near the main line, since root intrusion is one of the leading causes of sewer line failure. Catching a developing problem on camera means repairs can often be targeted to a specific section of pipe rather than requiring a full line replacement. It is a relatively small upfront cost that can prevent a much larger, messier emergency later.
- Consider an inspection if you notice slow drains throughout the house
- Ask for camera footage before agreeing to major sewer line repairs
- Schedule inspections proactively for homes over twenty years old
- Watch for gurgling sounds or sewage odors as early warning signs
Planning Ahead for Rural Wastewater Systems
Homes not connected to a municipal sewer system rely on a septic tank to treat and disperse wastewater, and problems here can quickly translate into backups affecting every bathroom in the house. Proper septic system installation, sized correctly for household usage and soil conditions, is essential to avoiding drainage failures down the line. Skipping professional evaluation during installation is one of the most common reasons septic systems fail prematurely.
Even a properly installed system needs regular pumping and inspection to keep functioning correctly, typically every three to five years depending on household size. Overloading the system with excessive water use, harsh chemicals, or non-biodegradable products can shorten its lifespan considerably. Staying on top of maintenance protects both your bathroom fixtures and the surrounding property from costly drainage failures.
- Have soil and site conditions evaluated before installation
- Schedule pumping every three to five years as a general guideline
- Avoid flushing wipes, grease, or harsh chemicals into the system
- Keep records of inspections and maintenance for future reference
Building a Relationship With a Trusted Professional
Many of the upgrades discussed here work best as part of an ongoing relationship with a reliable plumbing service rather than a one-time call during an emergency. Regular checkups allow a professional to catch small issues, like a slowly failing valve or a weakening seal, before they become urgent. This kind of preventive approach tends to be far less expensive than emergency repairs after damage has already occurred.
When choosing who to work with, look for a provider who offers clear communication, transparent pricing, and a willingness to explain what they find during an inspection. Ask about their experience with the specific systems in your home, from water heaters to sewer lines to septic tanks. A good working relationship with a knowledgeable provider gives you a reliable resource whenever bathroom plumbing questions or concerns arise.
- Schedule an annual plumbing checkup rather than waiting for a problem
- Ask providers to explain findings in plain language, not just jargon
- Request written estimates before agreeing to any major repair
- Keep a record of past inspections and repairs for future reference
Protecting your home from bathroom-related water damage comes down to a combination of awareness, timely upgrades, and consistent maintenance. Small investments now, whether that means replacing an aging heater, sealing a shower enclosure, or scheduling an inspection, can save you from far more disruptive and expensive repairs later. Take a walk through your bathroom this week and use the signs covered here to spot any early warnings. Then reach out to a qualified professional to address anything that needs attention before it turns into a larger problem.